Best Practices for Project Management in Atarim
Stages, tasks, boards and automation — how to set each up so the project runs itself.
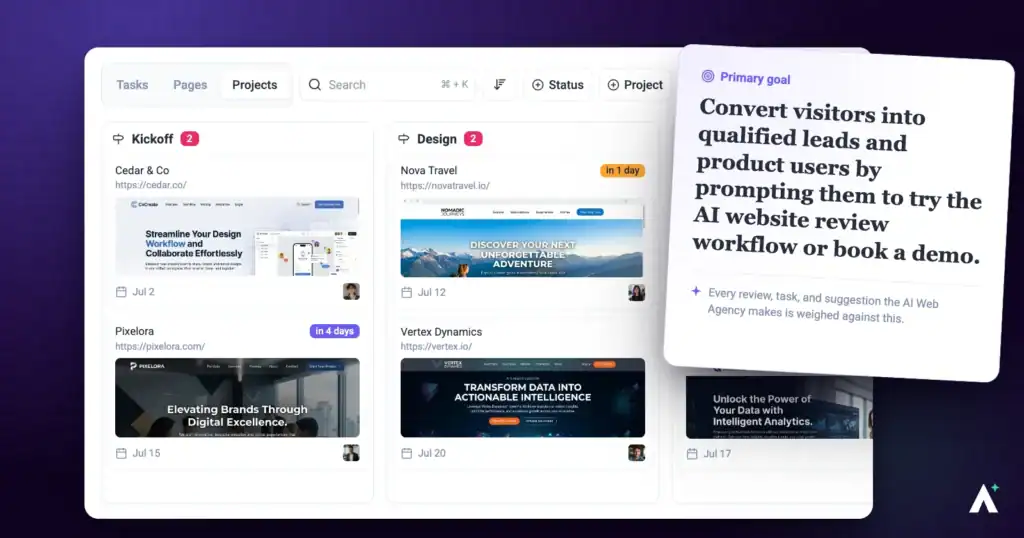
Four things make the difference between a project you’re constantly chasing and one that reports on itself: clear stages, tasks with owners, a board people actually look at, and automation for the repetitive parts.
Status and ownership visible without asking anyone.
1. Set Project Goals and Stages
Stages are what let anyone answer “where is this” without having to ask you.
Instructions:
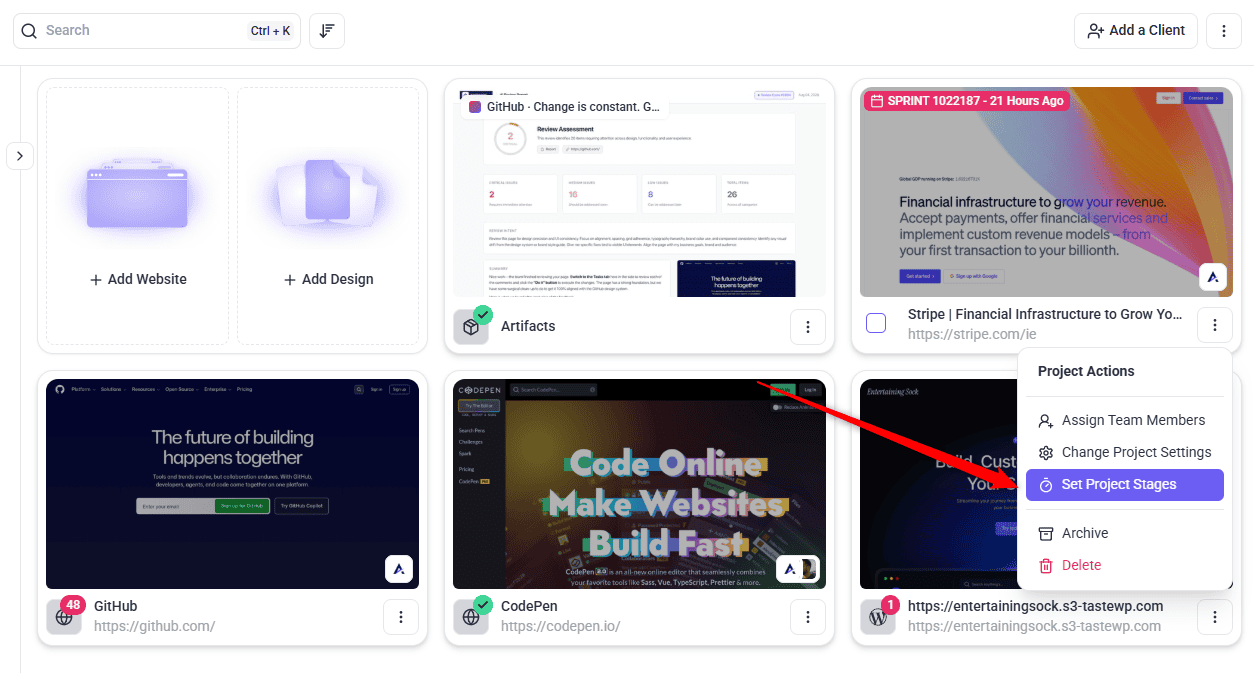
- On the Projects screen, open the project’s ⋮ menu and select Set Project Stages.
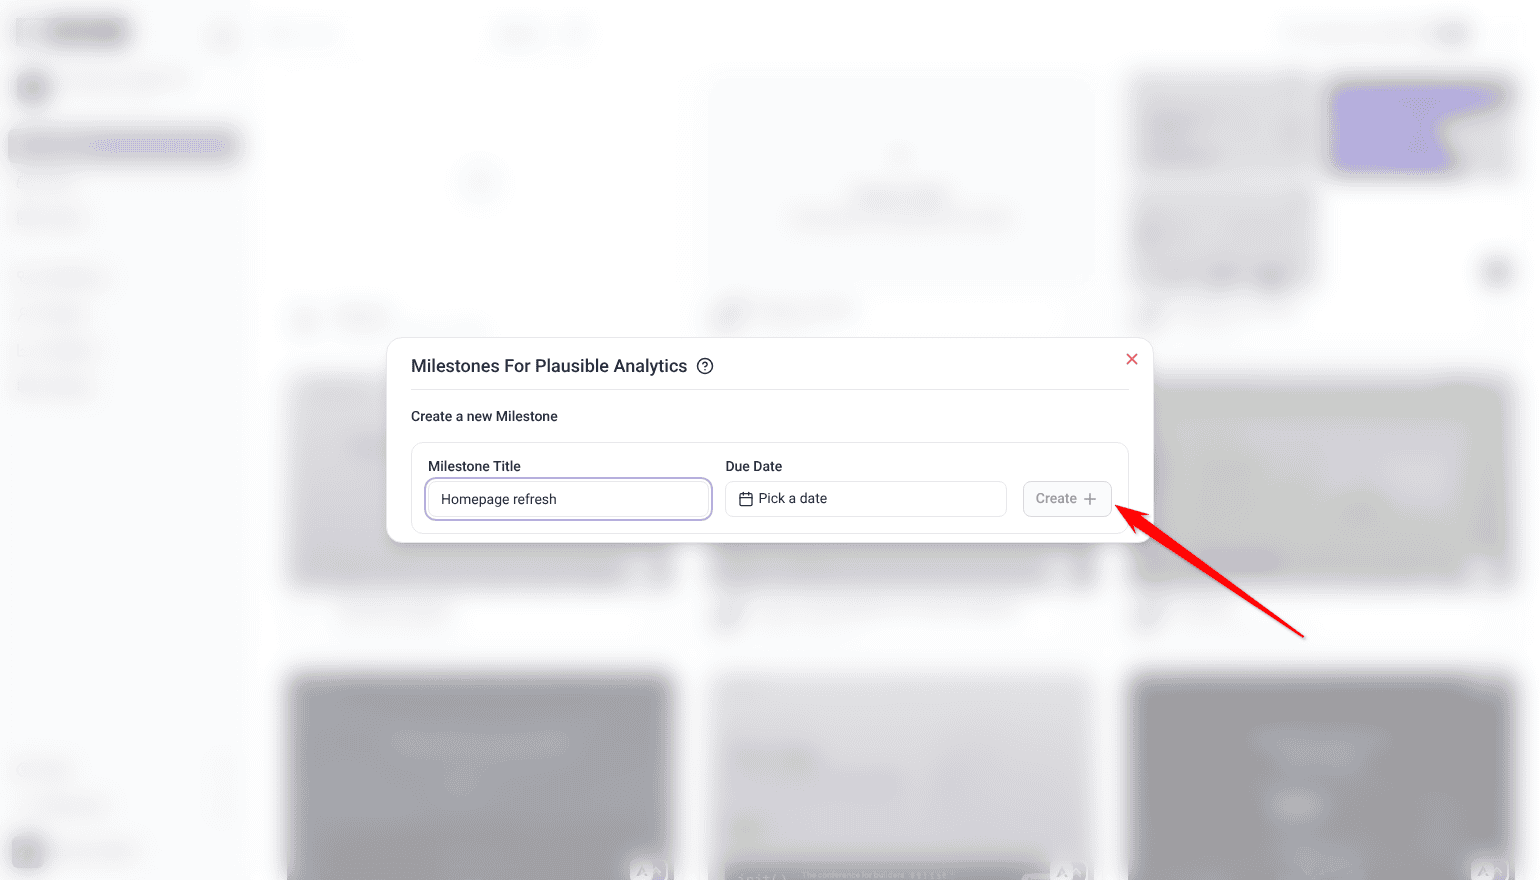
- Under Create a new Milestone, enter a Milestone Title for each stage your work actually runs through.
- Set a Due Date, then select Create. Everyone can see what phase the work is in and what’s due next.
- When a stage is finished, select the clock icon beside it (Mark milestone as complete).
Project stages are a paid feature, and Team Members don’t see Set Project Stages by default.
2. Create Tasks with Owners
A task that belongs to everyone belongs to nobody, so give each one an owner as you create it.
Instructions:
- Create tasks within the project.
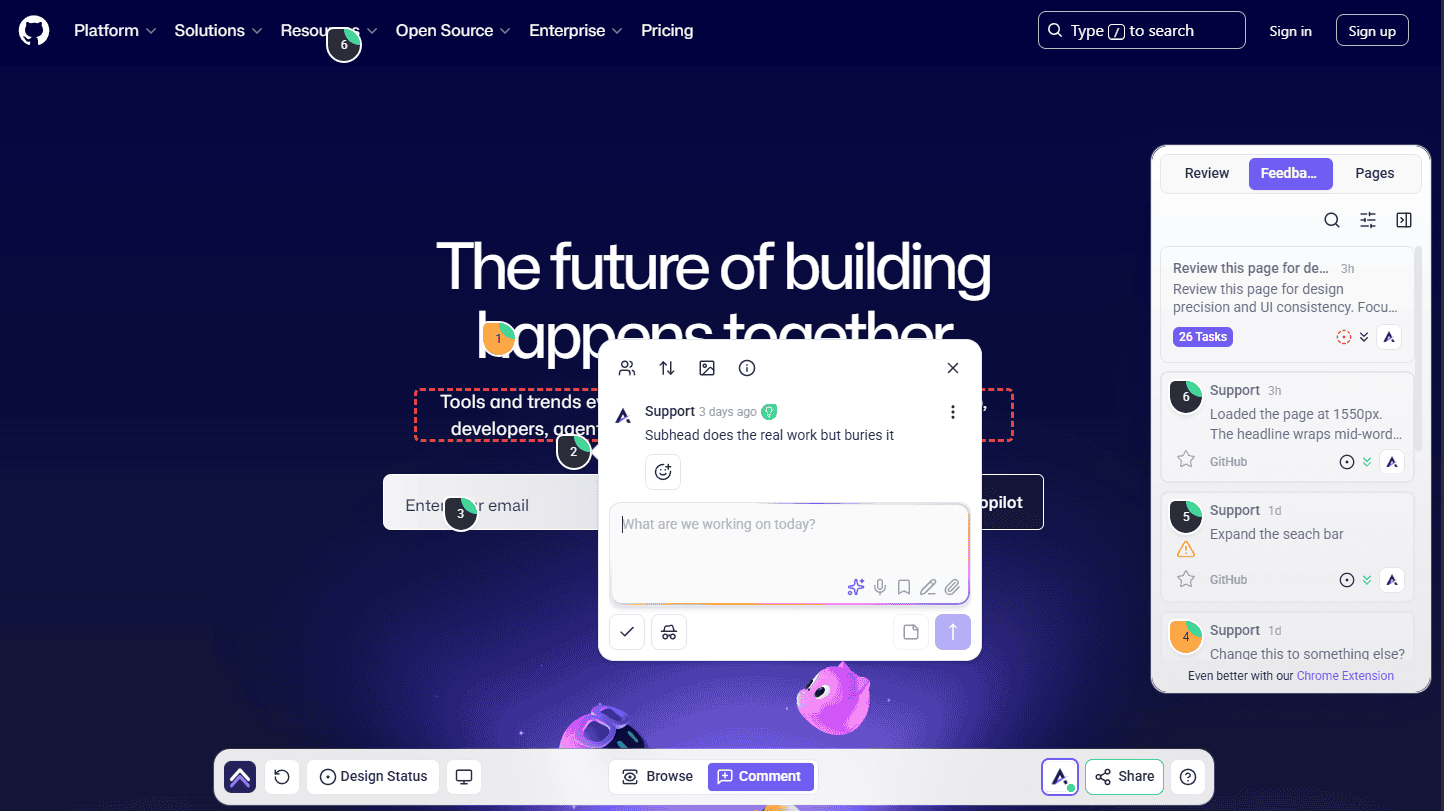
- Assign each one to a team member. Accountability is explicit rather than assumed.
- Use comments on the task for ongoing updates and feedback.
3. Track Progress on the Board
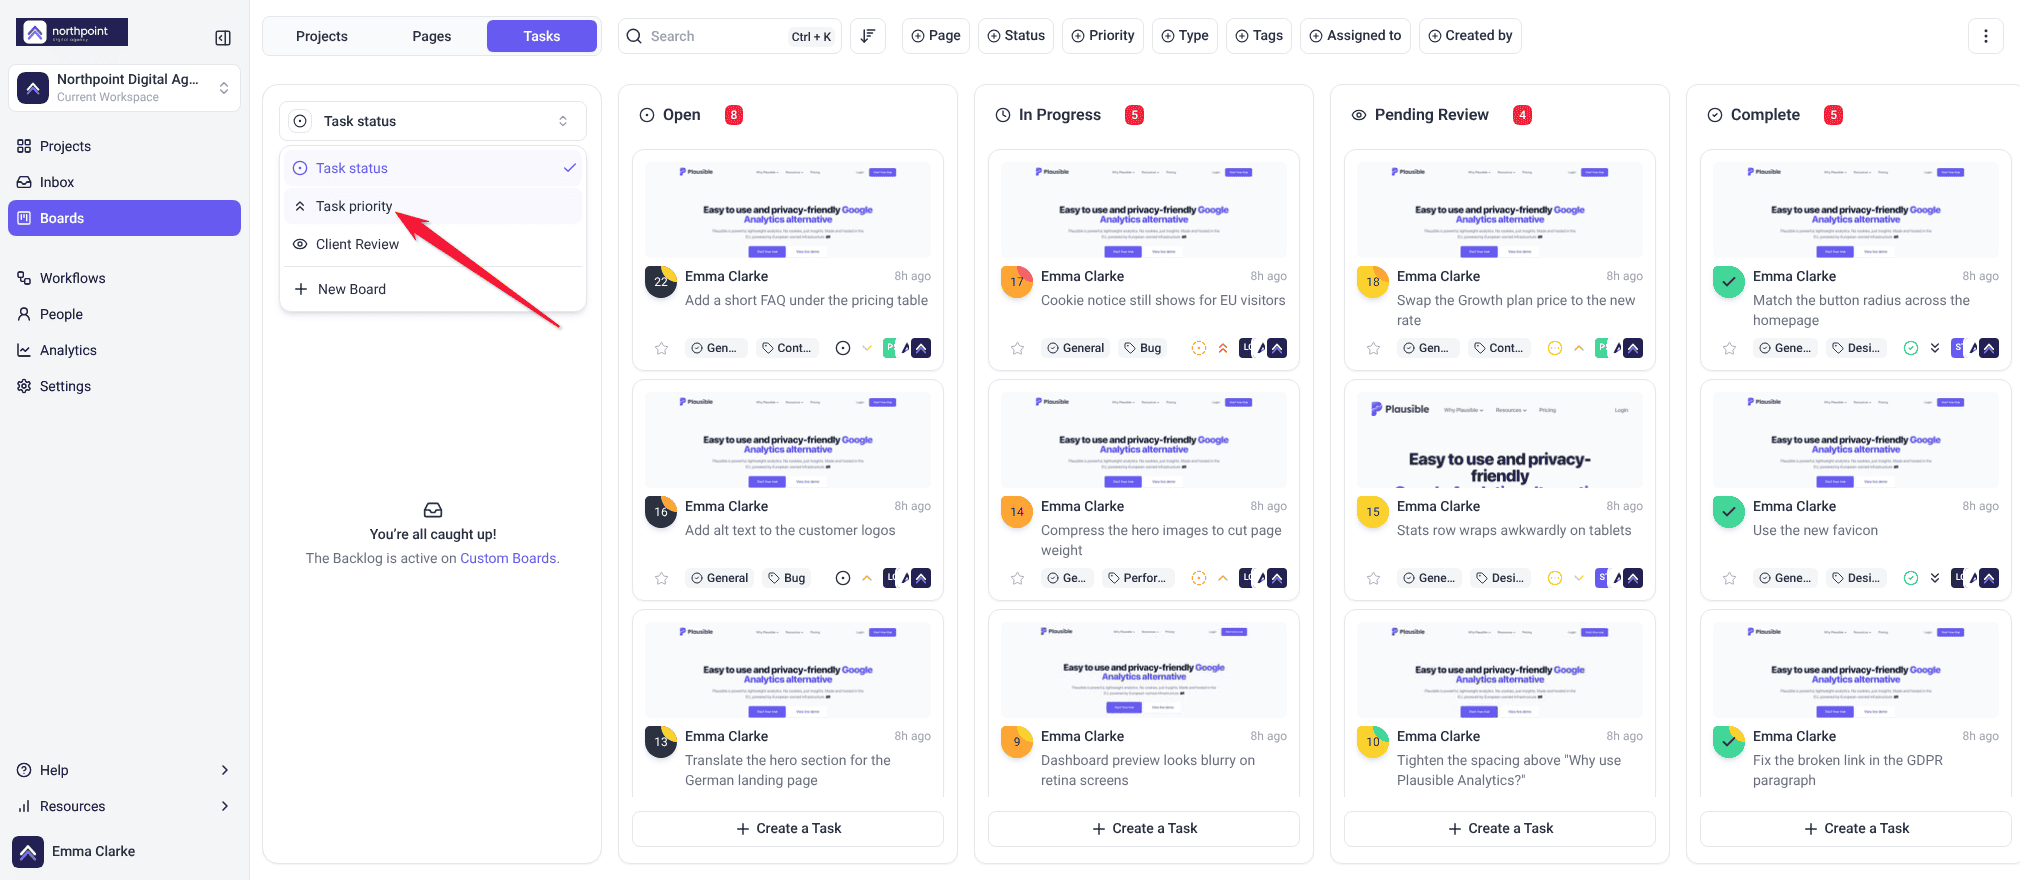
Boards group tasks two ways, and each answers a different question.
| Board view | Columns | Answers |
|---|---|---|
| Status | Open, In Progress, Pending Review, Complete | Where is everything in the process? |
| Priority | Low, Medium, High, Critical | What should we do next? |
- Open the project’s board view.
- Switch between Status and Priority depending on the question you’re asking.
- Move tasks between columns as work progresses.
- Filter by priority to narrow the view. With one project selected, you can also filter by assignee.
4. Automate the Repetitive Parts
Automate the chasing and the handoffs, so people spend their attention on the work itself.
Instructions:
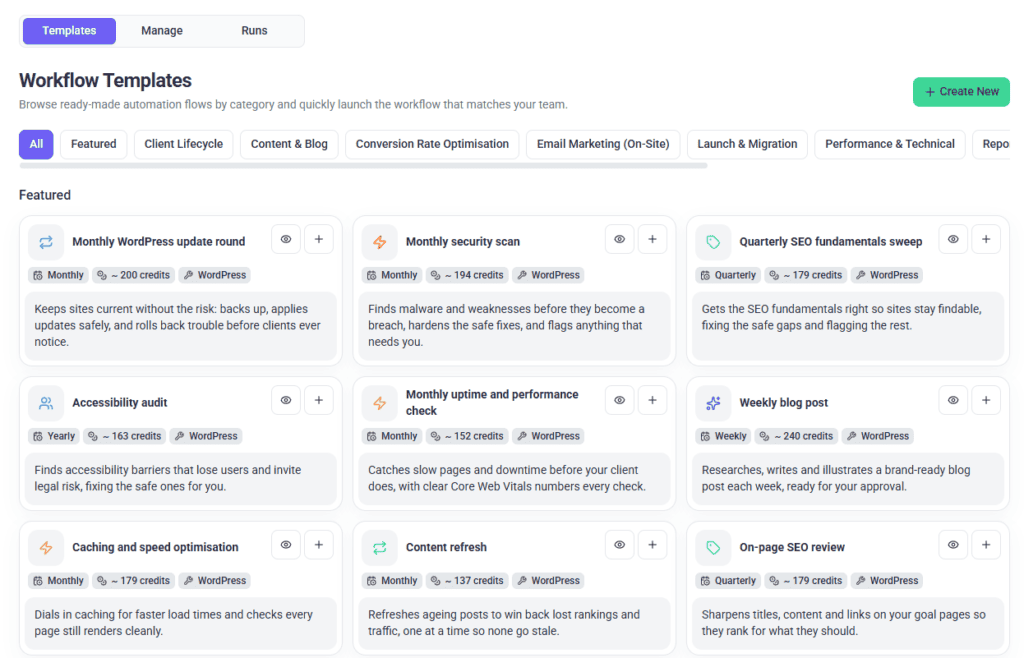
- Select Workflows in the sidebar, open the Manage tab and select Create New.
- Set a trigger — a status change or a new comment, for example.
- Choose what should happen, such as a notification or an action in a connected tool.
- Save and test it with a real task.
Each workflow run uses 10 credits, plus whatever any AI steps in it use. Workflows are a paid feature, and Team Members don’t see Workflows by default.
FAQs
Can I customise the board columns?
No. Columns are fixed, which keeps boards consistent across projects and teams.
What are the status values?
Open, In Progress, Pending Review and Complete.
What are the priority values?
Low, Medium, High and Critical.
How do I notify my team about updates?
Notification preferences are per person. Open the team member’s profile from the People page to manage what they receive.
Can I integrate with other tools?
Yes — Slack, Jira, Asana, ClickUp, Trello and others, both directly and as workflow actions.
Will the team be told when I change a project stage?
Yes. Creating or completing a stage emails everyone assigned to the project, and assignees are emailed again as the due date approaches and after it passes. Anyone reviewing through a share link without an account is not emailed, so tell them directly.
Common issues
- A workflow isn’t triggering — check the conditions match what’s actually happening, and that permissions allow the action.
- An integration isn’t in the workflow list — connect it and switch it on in Settings first, then reopen the builder.
- The board doesn’t reflect reality — statuses haven’t been updated. A weekly review is what keeps it accurate.
- A dragged task didn’t move — if an upgrade card opened, your plan doesn’t include changing status and priority. Otherwise, open the task and set its status or priority directly.
- Nobody knows what’s next — use the Priority board view and make sure every task has an owner.
Conclusion
The four practices reinforce each other: stages give the project shape, owned tasks make progress attributable, the board makes it visible, and automation removes the manual updates.
The one habit that matters most is the weekly review. A board nobody updates is a board nobody trusts, and everything else depends on it being accurate. Discover How To Handle Backlogs And Bottlenecks
Tips & best practices
- Schedule a regular team review to update statuses and realign priorities.
- Check conditions and permissions first if a workflow isn’t triggering.
- Break large tasks into smaller ones so progress stays visible.
- Automate only the updates you’re tired of doing by hand.
- Keep internal work in internal tasks.